


The Best Cheat Butter Tarts

Serving
Difficulty
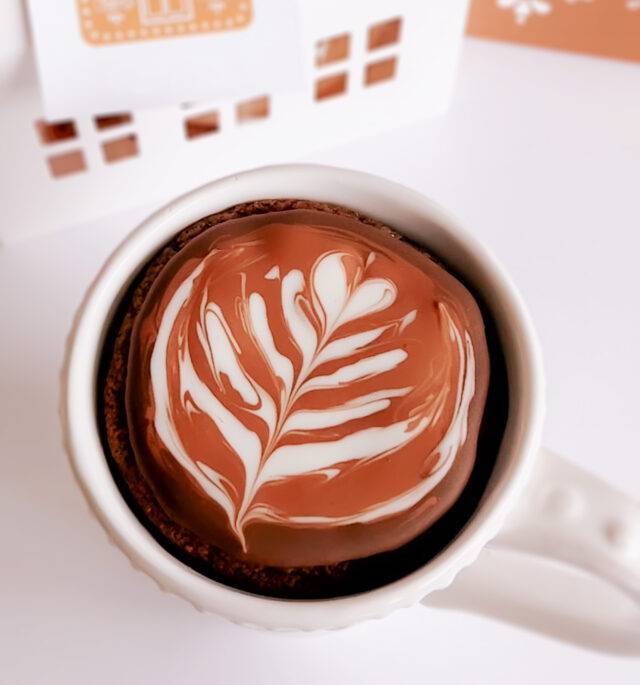
Looking for an easy, fun, homemade holiday gift? Here’s a delicious idea! Holiday Hot Chocolate Bombs make the perfect gift or stocking stuffer! Made with good quality chocolate, they can be easily adapted to suit the recipient by changing up the flavours.
These Peppermint Bark Hot Chocolate Bombs are very chocolatey, pepperminty and so very delicious! The Snowball Peppermint Bark Hot Chocolate Bombs have a white chocolate shell while the Marbled Peppermint Bark Hot Chocolate Bombs have a marbled, white chocolate, milk chocolate and dark chocolate shell.
Do you love holiday projects as much as I do? Have you been waiting to make a gingerbread house? Check out my Frosty’s Gingerbread Shop here. He sells snowballs and snowflakes. Here‘s my post on gingerbread house-making tips to help you make your first gingerbread house!


Hot Chocolate Bomb Making Tips:
I highly recommend reading these tips in full before proceeding.
- You need a silicone half-sphere mold. Here’s the one I got. I love the silicone molds because they are flexible. You can simply pull them apart and peel them back to reveal a beautiful chocolate shell.
- You need a few hours to make these. Set aside 3-4 hours for this project.
- Use good chocolate. Do not use chocolate chip as they do not melt well and may not give you a smooth chocolate finish.
- For a strong shell, you need to coat each shell twice as well.
- You need a strong rim to prevent breakage when removing them from the silicone mold
- Use thin food service gloves to prevent fingerprints on the chocolate shell.
- To prevent breakage with unmolding, allow the mold to rest for 3 minutes at room temperature before attempting to unmold the chocolate shell.
- Wash the silicone mold before creating another batch of half-spheres. Unwashed molds will cause the next batch of chocolate spheres to have a cloudy finish, instead of a shiny one.
- Dry your silicone mold quickly with a hair dryer. Drying the silicone mold with a dish towel will leave lint on the mold which will transfer onto your chocolate shell. A hairdryer will dry your mold quickly and lint-free.
- Melting the rim of your chocolate half shell will help create a flat, smooth sealing surface.
- Only melt the rims of half the chocolate spheres that you will be filling with hot cocoa powder. Do not melt the other half as you will be melting them later.
- Melt the rims of the other half shells just before assembling to help seal he chocolate bombs.
- To help prop up the chocolate bombs for decorating, place a completed sphere in a pretty holiday paper muffin liner. This will help minimize handling and help keep the chocolate spheres from rolling around when drizzling with melted chocolate.


Peppermint Bark Hot Chocolate Bombs
Makes 12 Hot Chocolate Bombs
- 6 - 100 gBars Good Chocolate (I Prefer Lindt Chocolate Bars. I used 3 Bars of White and 2 Bars of Milk and 1 Bar of Dark Chocolate to Create these Chocolate Bombs)
- 12 tbsPeppermint Flavoured Hot Chocolate (I used this)
- 72 minimarshmallows
- 1 cupCrushed Candy Canes
Instructions:
- Chop the chocolate into small pieces. Place in a microwaveable bowl and microwave on the defrost setting in 30 second intervals, stirring in between, until chocolate is melted and smooth. If using more than 1 type of chocolate, melt chocolate in separate bowls.
- Add 1 tablespoon of melted chocolate into each half-sphere mold. Using a back of a teaspoon, spread the chocolate to coat the inside of each half-sphere. Once the molds have been coated, turn the mold over onto a piece of parchment paper and to allow any excess chocolate to drip off, approximately 1 minute. Then set the mold in the refrigerator for about 5 minutes.
- Remove from the refrigerator and add another tablespoon of melted chocolate. (You may have to reheat and melt the chocolate). Repeat the coating process. Return the molds into the refrigerator for another 5 minutes.
- Remove from the refrigerator. Coat the back of a teaspoon with melted chocolate (again, you may have to reheat and melt the chocolate) and coat the inside rim (just around the edge) with extra chocolate before placing the mold into the freezer to chill for 10 minutes.
- Remove the mold from the freezer and allow it to rest for 3 minutes at room temperature before releasing the chocolate shell. Working with only 1 shell at a time, gently pull the silicone apart. Once part of the chocolate shell releases, gently peel the mold back and pop out the chocolate shell. Place on a piece of parchment paper.
- To help create a flat, smooth sealing surface, with the shells facing down, using a sharp paring knife, gently trim off any excess chocolate around the rim of the shell. Then heat a small non-stick skillet over medium high heat for about 60 seconds. Remove the pan from the heat. Place the skillet on a trivet next to your work surface. Using gloves, pick up a chocolate half-sphere and place it rim side down on the warm skillet. As soon as you see the edges of the chocolate start to melt, pick up the sphere and place it rim side down on a piece of parchment paper to cool. Repeat for only half of the half sphere.
- Working only with the smooth rim, half-spheres, fill each with 1 tablespoon of peppermint hot chocolate mix, 6 mini marshmallows and 1 tsp of crushed candy canes.
- To seal the hot chocolate bombs, repeat the melting process in step 6. Once the rim of the half-sphere is melted, place it directly on top of a filled half-sphere, creating a sealed chocolate bomb.
- To decorate, place the hot chocolate bombs in a paper muffin liner. Drizzle melted white chocolate over the chocolate bomb and sprinkle with crushed candy canes.
- To serve, place 1 hot chocolate bomb into a mug. Pour hot milk directly over the chocolate bomb. Let sit for 30 seconds before stirring. Enjoy!
To create the marble chocolate shell: Drizzle ½ tbs white chocolate into the half-sphere, followed by ½ tbs of dark and 1/2 tsp of milk chocolate. Using the back of a teaspoon, coat the sphere as indicated in steps 2 and 3.