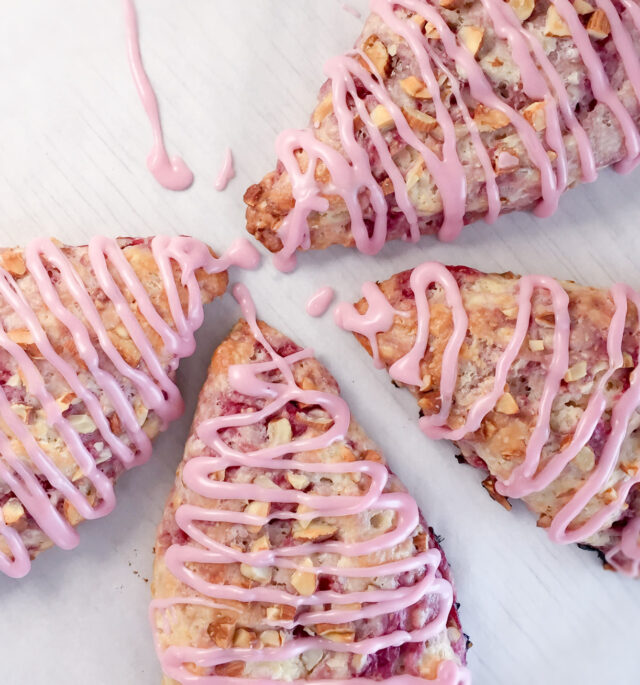
Strawberry Glazed Oven-Baked Yeast Donuts

Serving
Cooking Time
Difficulty
Ingredients:
- 540 g(19oz) All-Purpose Flour
- 12 g(2 teaspoons) Salt
- 50 g(1/4 cup) Granulated Sugar
- 7 g(2-1/4 teaspoons) Active Instant Yeast
- 2Large Eggs, at room Temperature
- 57 g(4 tablespoons) Butter, Melted and Cooled
- 225 ml(1 cup) Warm Water, Heated to 115oF
- 360 g(3 cups) Confectioners Sugar
- 70 ml(7 teaspoons) Water
- 1 tspStrawberry Extract (or 1-1/2 teaspoons Vanilla Extract)
Directions:
Instructions
- In a mixing bowl of a stand mixer, fitted with a dough hook, add flour, salt, sugar and yeast. Set aside.
- In another bowl, lightly beat eggs. Add cooled melted butter, vanilla extract and warm water. Beat to combine mixture. Using a thermometer, take the temperature of egg mixture; it should fall between 105oF and 115oF. Add egg mixture to flour mixture. Using a rubber spatula, stir to lightly combine. (No need to mix well. A couple of quick stirs is sufficient. Mixture should look very lumpy and unincorporated.) Let mixture sit for 5 to 7 minutes.
- Mix on low until all of the flour has been incorporated. Run a spatula under the dough to make sure it is well mixed. Increase mixer speed to medium high and knead dough for 7-8 minutes until dough is smooth and stretchy. (Note: dough will be very tacky and quite wet. Do not add more flour. Too much flour will toughen the dough and cause your donut to be heavy instead of light and fluffy.)
- Lightly oil a mixing bowl with canola oil. Place the dough in the bowl and turn dough to coat.
- Cover the bowl with plastic wrap and place in a warm place (I prefer the oven set to 100oF) to proof until doubled. Approximately 2 hours.
- Line 2 cookie sheets with parchment paper. Oil parchment paper lightly.
- Once dough has doubled in size, turn dough out onto a well-floured work surface and roll dough out to 1/2” thickness.
- Using a round cutter dusted in flour (approximately 3” in diameter), cut out donut circles. Using a smaller cutter (I use a piping nozzle), cut out the donut holes. Gather scraps of dough and reform into a ball. Roll out dough again and recut.
- Place cutout donuts on tjhe 2 prepared cookie sheets, approximately 3 to 4 inches apart, with plenty of room for each donut to double in size. (Take your time to position donuts on the cookie sheet. Once placed down, they will not be moved again. Moving the donuts will cause them to deflate.)
- Place a lightly oiled plastic wrap over the donuts and return them to a warm spot to rise for another 60 minutes.
- While donuts are rising, place a small pan of water on the floor or on the lowest rack in the oven. Heat oven to 350oF.
- Once the donuts have risen, brush the tops with melted butter.
- Bake on the middle rack for no less than 12 minutes and no more than 13 minutes. Do not over-bake as it will cause the donut to dry out.
- While the donuts are baking, make the glaze. Using a wide bowl (use one that’s big enough for you to dip the entire top surface of the donut in one dunk), add all of your glaze ingredients and whisk until well combined.
- To Glaze Donuts: Remove donuts from oven. Do not let them cool. Using a pair of tongs or 2 forks, immediately dunk the tops of each donut into the glaze, one at a time. Allow the glaze to drip off slightly before placing the donuts on a wire rack to dry completely. Donuts may be glazed a second time once the first layer of glaze is dry. A second layer of glaze will create a crisper shell.
Note: It is very important to glaze the donuts as soon as they come out of the oven. Reason is, this will soften the donut and help seal in moisture.
Donuts are ready to be eaten once the glaze dries. Donuts are best eaten on the same day they are made. Leftover donuts should be refreshed by microwaving them for 10 to 12 seconds before consuming.
Tags:
Share This Article

